RDSS User Guide#
This page includes step-by-step instructions for how to connect to, disconnect from, manage access to, and restore previous versions of files and folders in an RDSS share.
Note
Instructions for connecting to FSMResFiles are maintained by FSM IT. Many of the following instructions will work for FSMResFiles with minor modifications.
Connecting to a Share#
RDSS shares can be accessed from Windows, Mac, and Linux machines using a smb mount.
To access files you must:
1. Connect to the Right Network#
RDSS only allows connections from the Northwestern network.
On campus: Connect to the Internet via the Eduroam wireless network or using a wired Ethernet connection.
Off campus: Connect to the Northwestern GlobalProtect VPN
2. Know Your RDSS Zone#
RDSS consists of two zones that have the following unique features
resfiles is intended for non-public research data and can be connected to the Globus data transfer tool. Use the server address
resfiles.northwestern.eduto connect to resfiles.resfiles audit is intended for sensitive research data and data subject to state and federal regulations or data use agreements (DUAs) and creates audit logs when files are accessed, created, updated, and deleted. Use the server address
resfilesaudit.northwestern.eduto connect to resfiles-audit.
Note
If you’re not sure which zone the share you’re trying to connect to is located in, try connecting to either server using the instructions in section 3.
If the server doesn’t allow you to connect, then you do not have access to any shares on that server.
If it does allow you to connect, a list of shares you have access to in that zone will be displayed.
If you think you should have access to a share that does not appear following these instructions, contact the share’s data manager (usually a senior staff member in the group who handles day to day operations). This person can grant access to the share. If you don’t know who the data manager is, email rdss-help@northwestern.edu for assistance.
The following instructions will show you the correct syntax to connect to these servers depending on your computer’s operating system.
3. Connect to the Share#
To access RDSS storage, you must connect using the SMB protocol, which will “mount” your RDSS share as a network drive to your computer. This section will show you how to create a temporary mount that persists until you log out, restart, or manually disconnect* from the computer you’re connecting from. This type of connection is recommended when using a computer that others have access to.
For computers only you have access to, see the establishing a persistent mount section to configure your computer to autoconnect.
To connect from a Windows computer/virtual machine:
Open a File Explorer window.
Type the appropriate server address in the address bar in the following format and press Enter.
For resfiles use
\\resfiles.northwestern.eduFor resfiles audit use
\\resfilesaudit.northwestern.edu
If you do not use your NetID to log in to your computer, you will be prompted for your username and password.
Username:
ads\NetIDreplacing NetID with your Northwestern NetIDPassword: your NetID password
Once connected, you will see the list of shares on the server. Select the share you would like to mount and click OK.
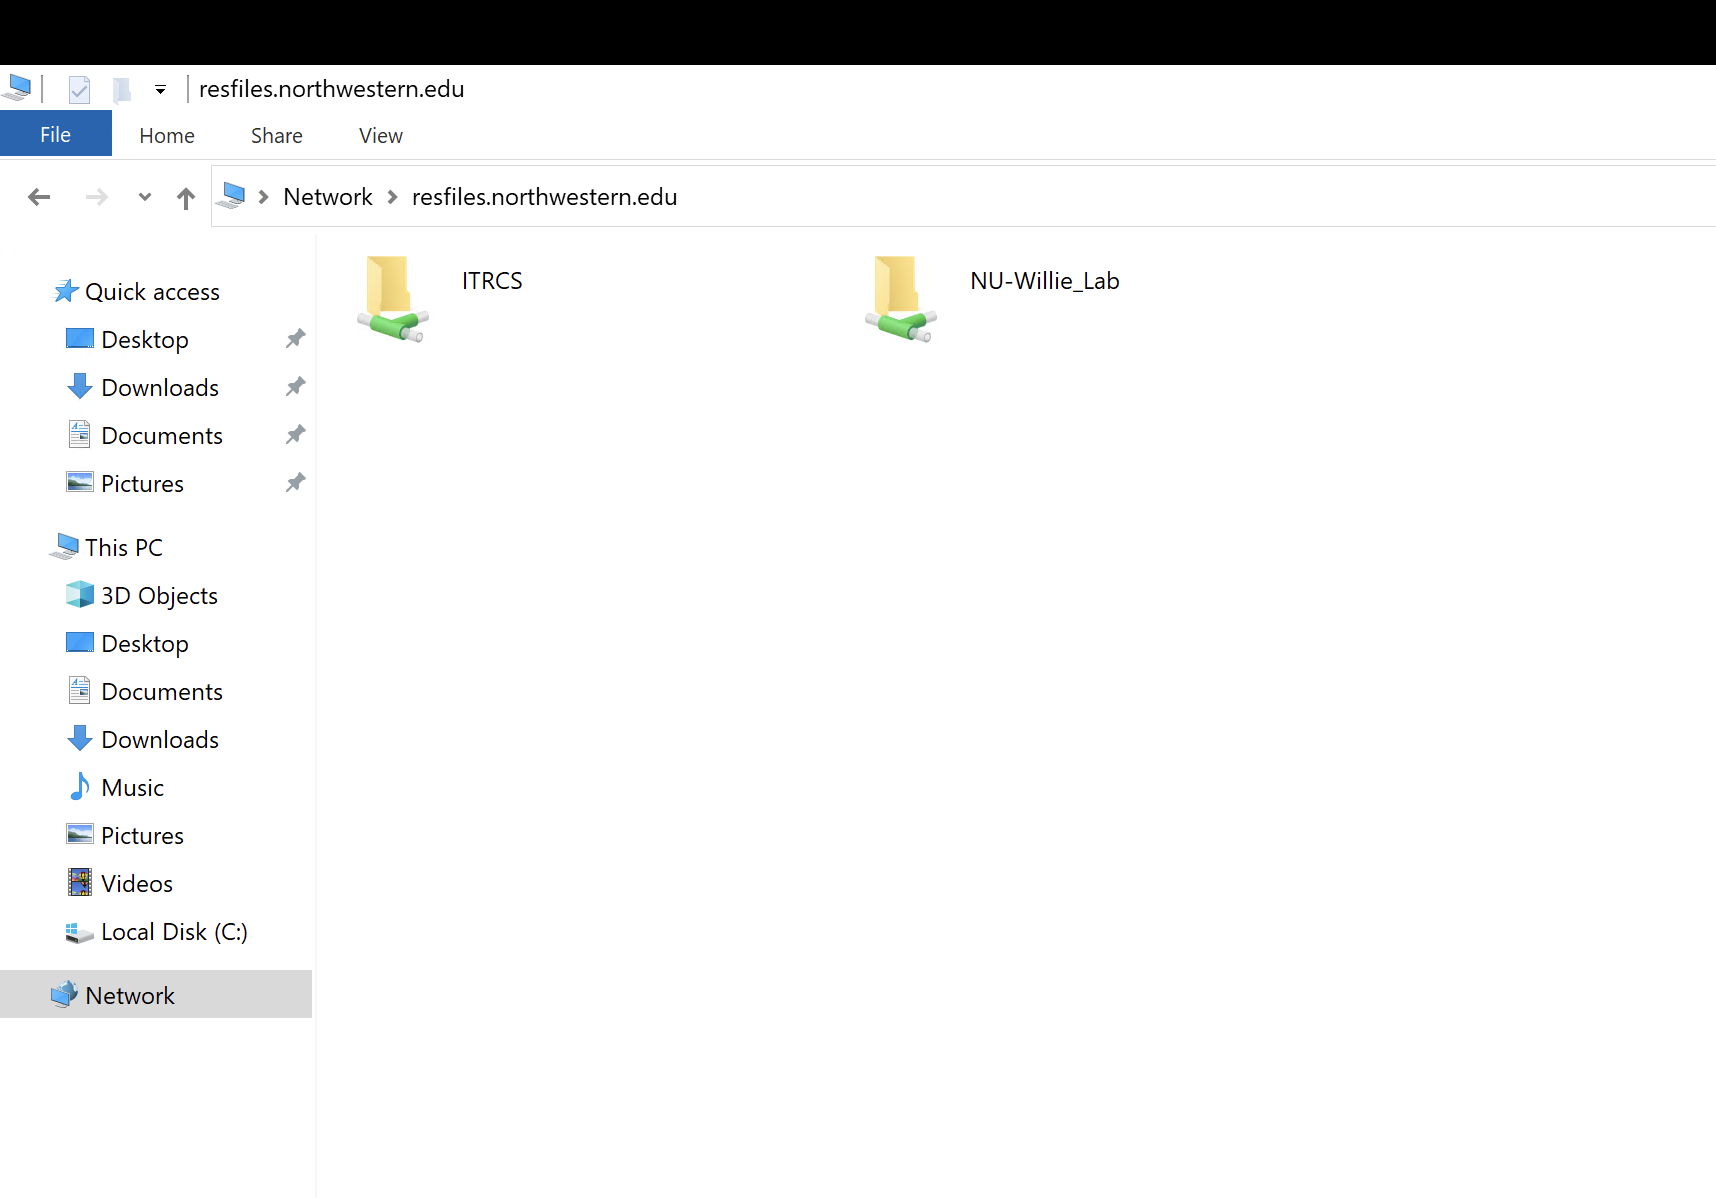
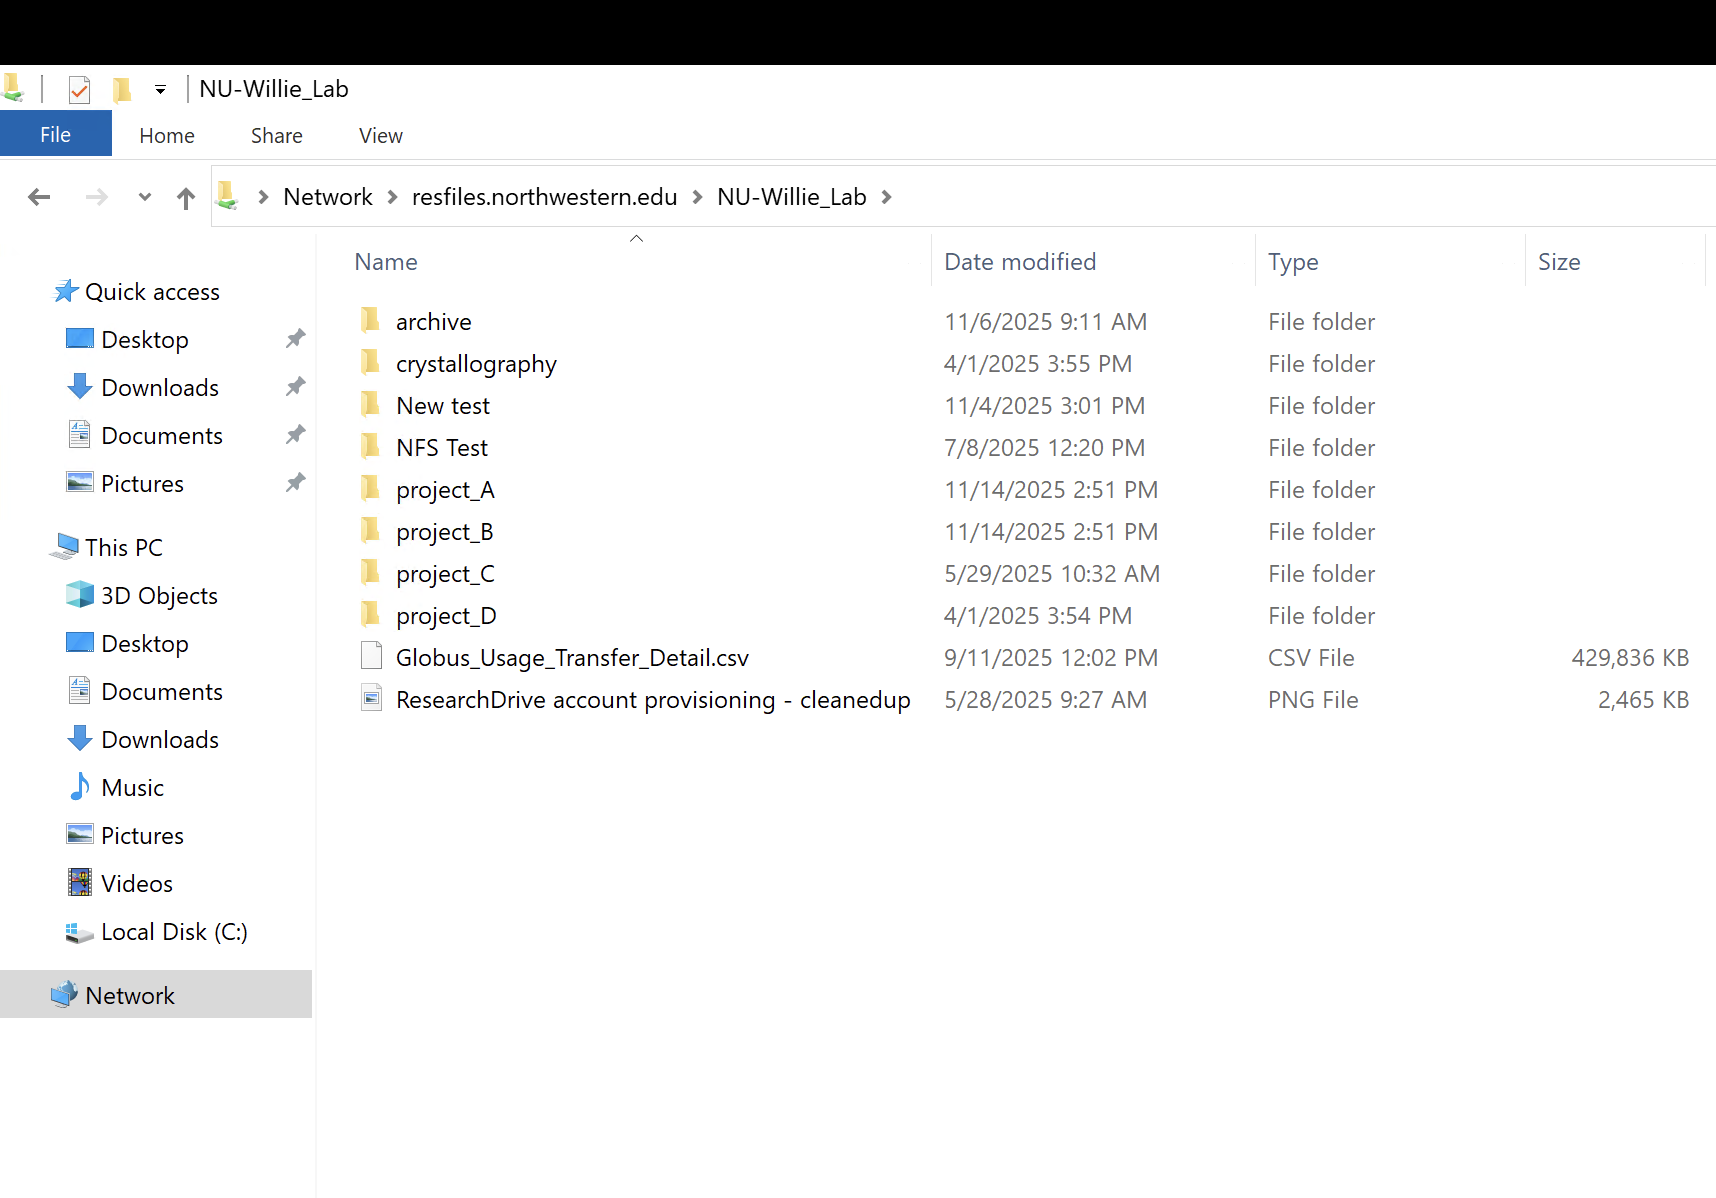
Your share will open in the File Explorer window. You can also find it in any File Explorer window on the left-hand side under Network labeled with the server name.
To connect from a computer running MacOS:
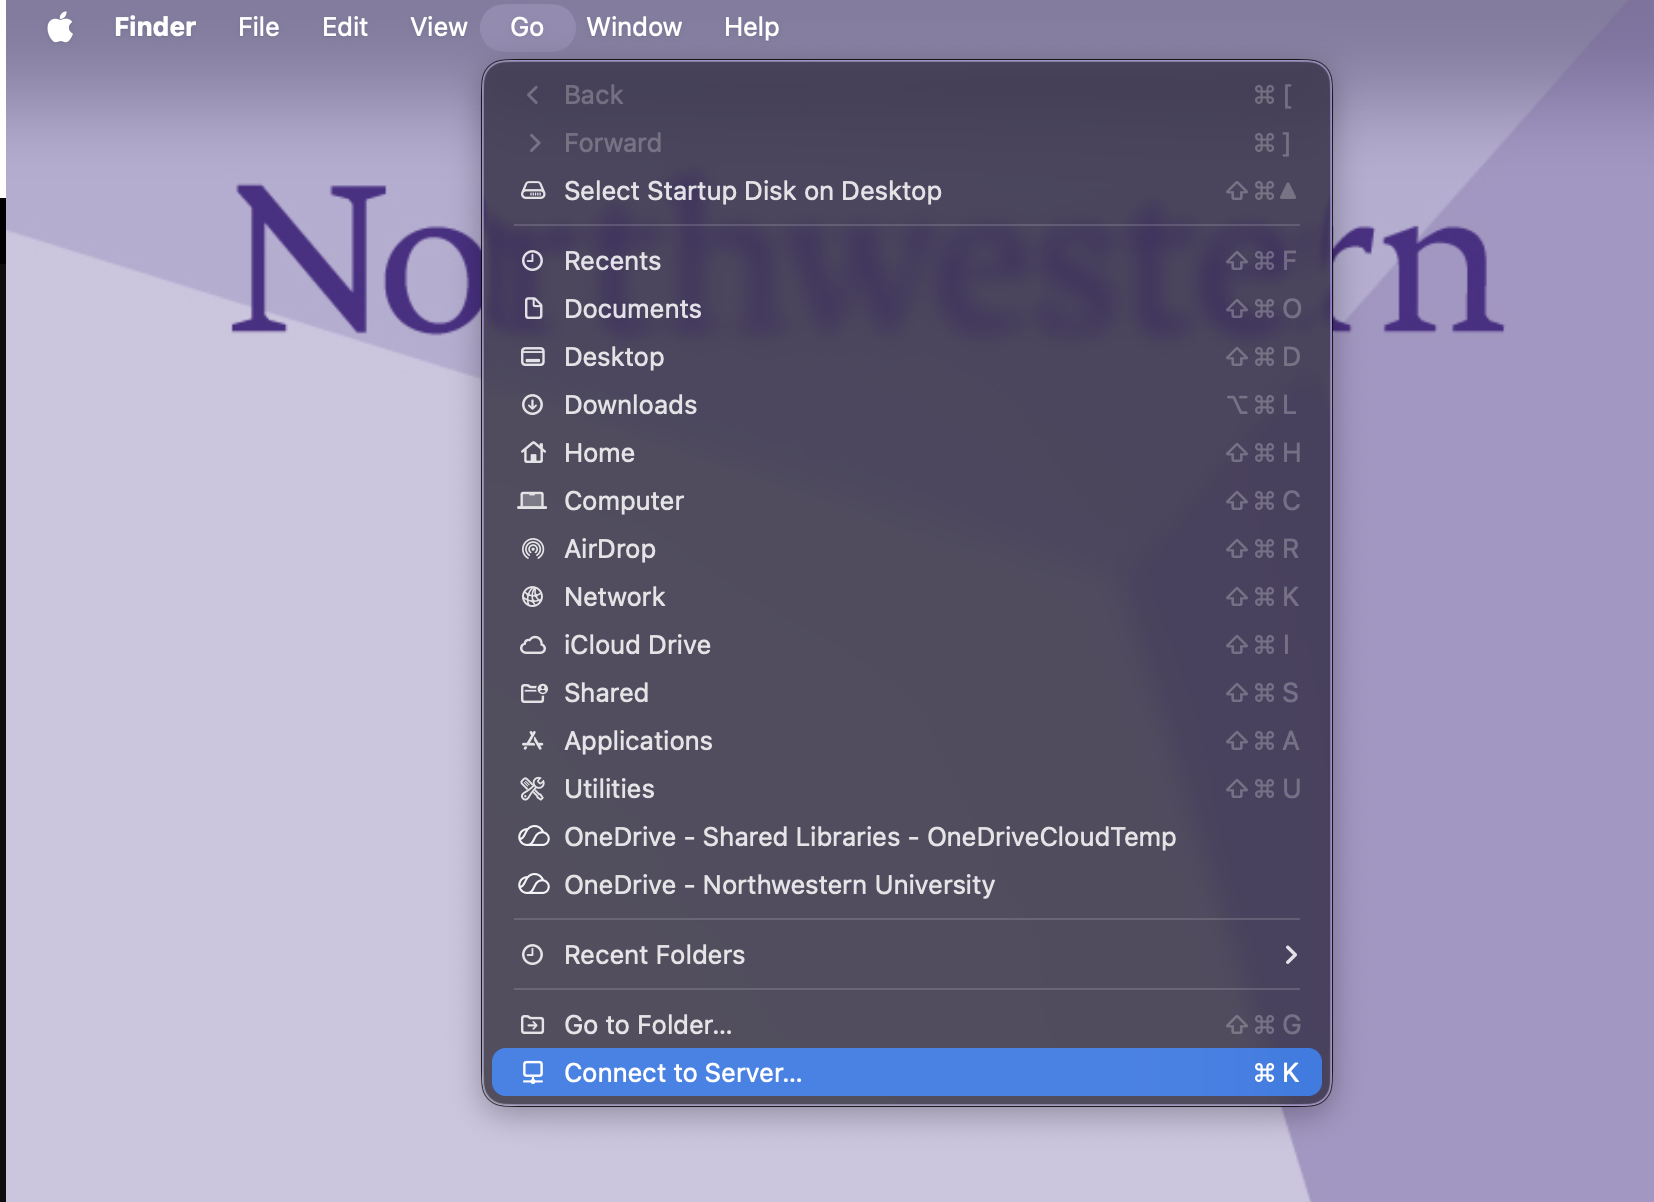
From the Desktop of your Mac computer, on the top Menu Bar select the Go menu, then Connect to Server
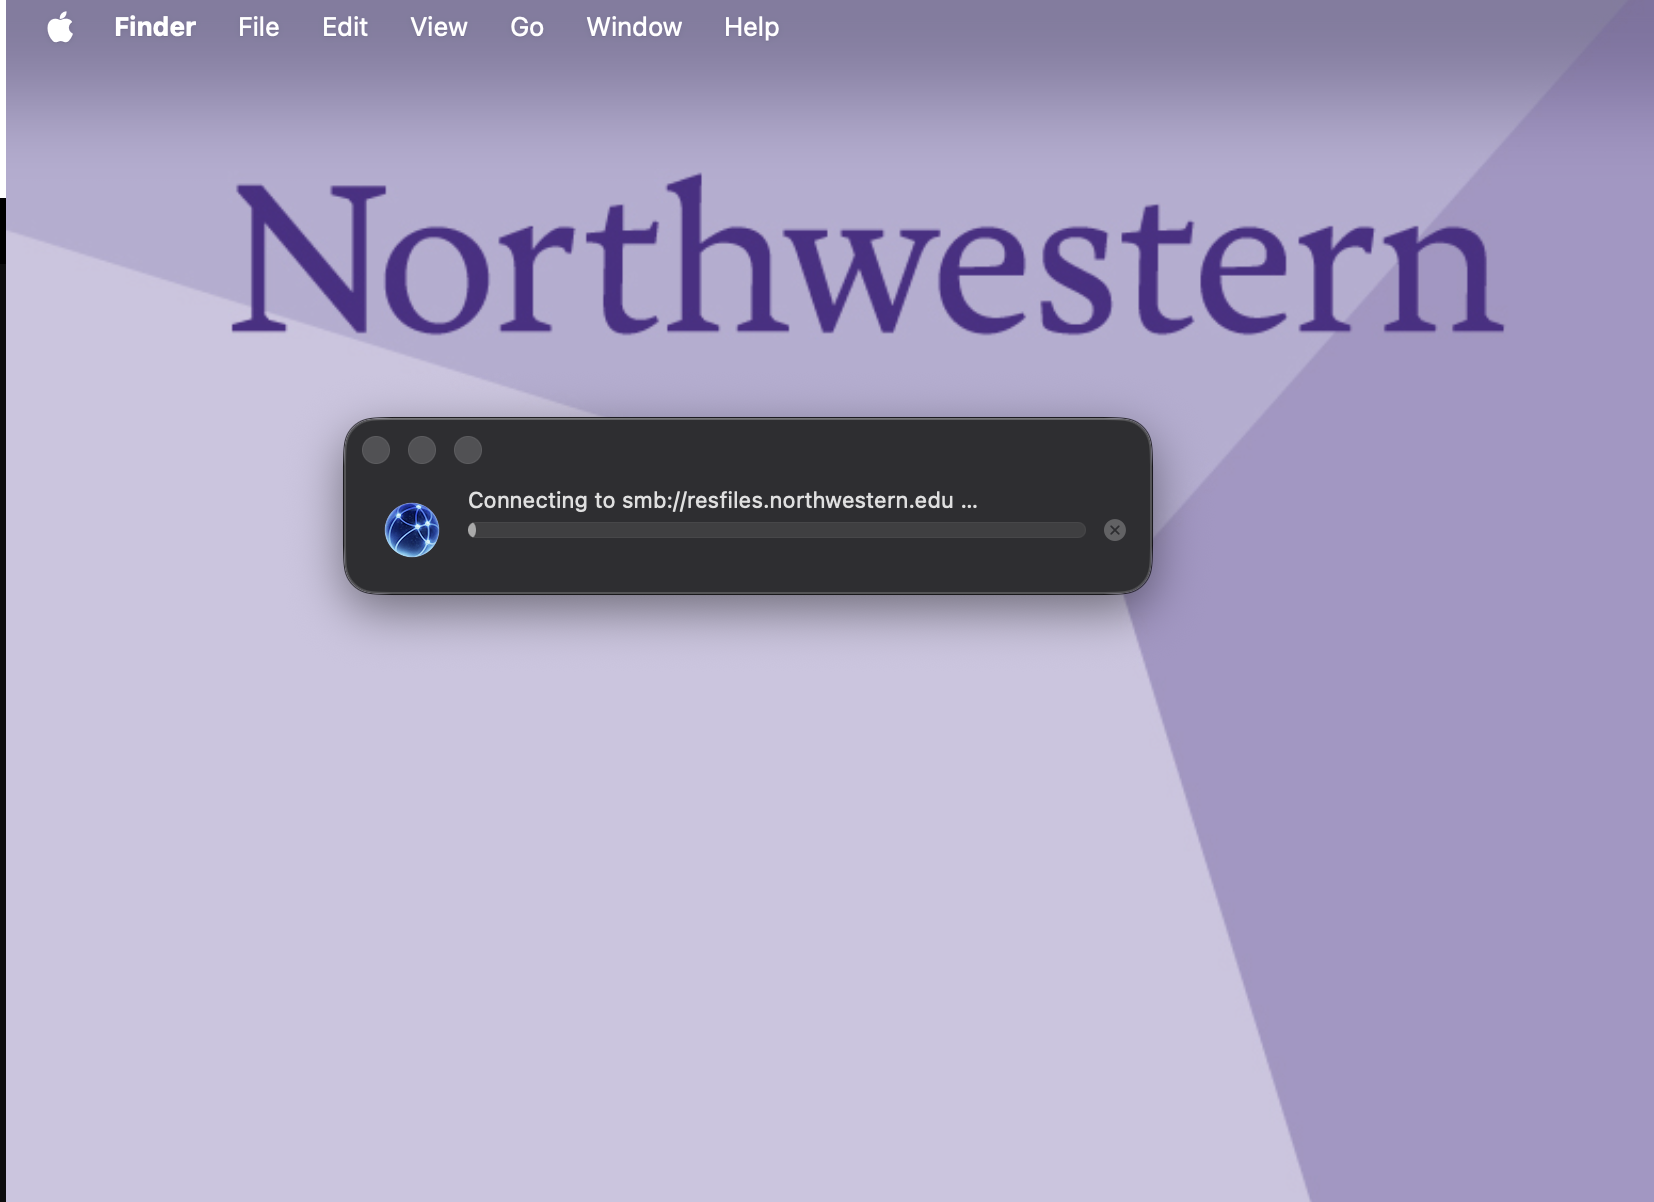
Enter the appropriate server address in the following format then click Connect
For resfiles use
smb://resfiles.northwestern.eduFor resfiles audit use
smb://resfilesaudit.northwestern.edu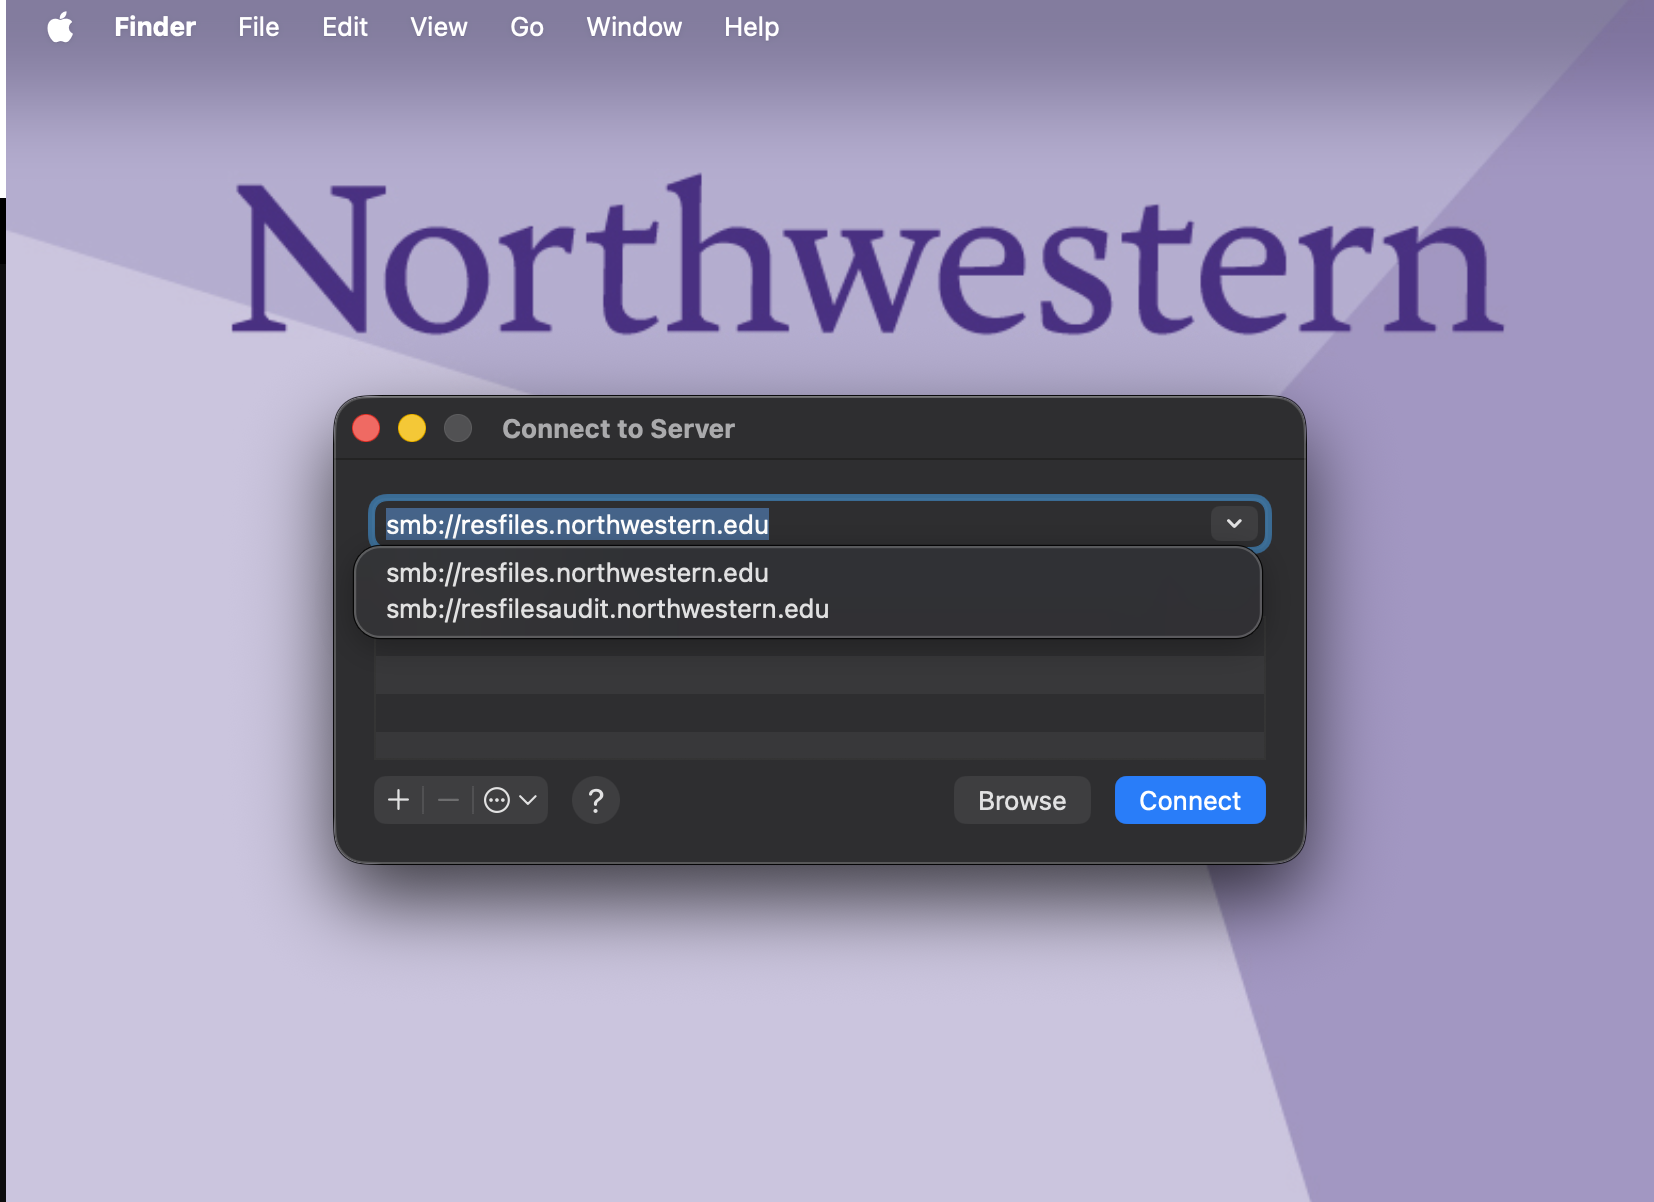
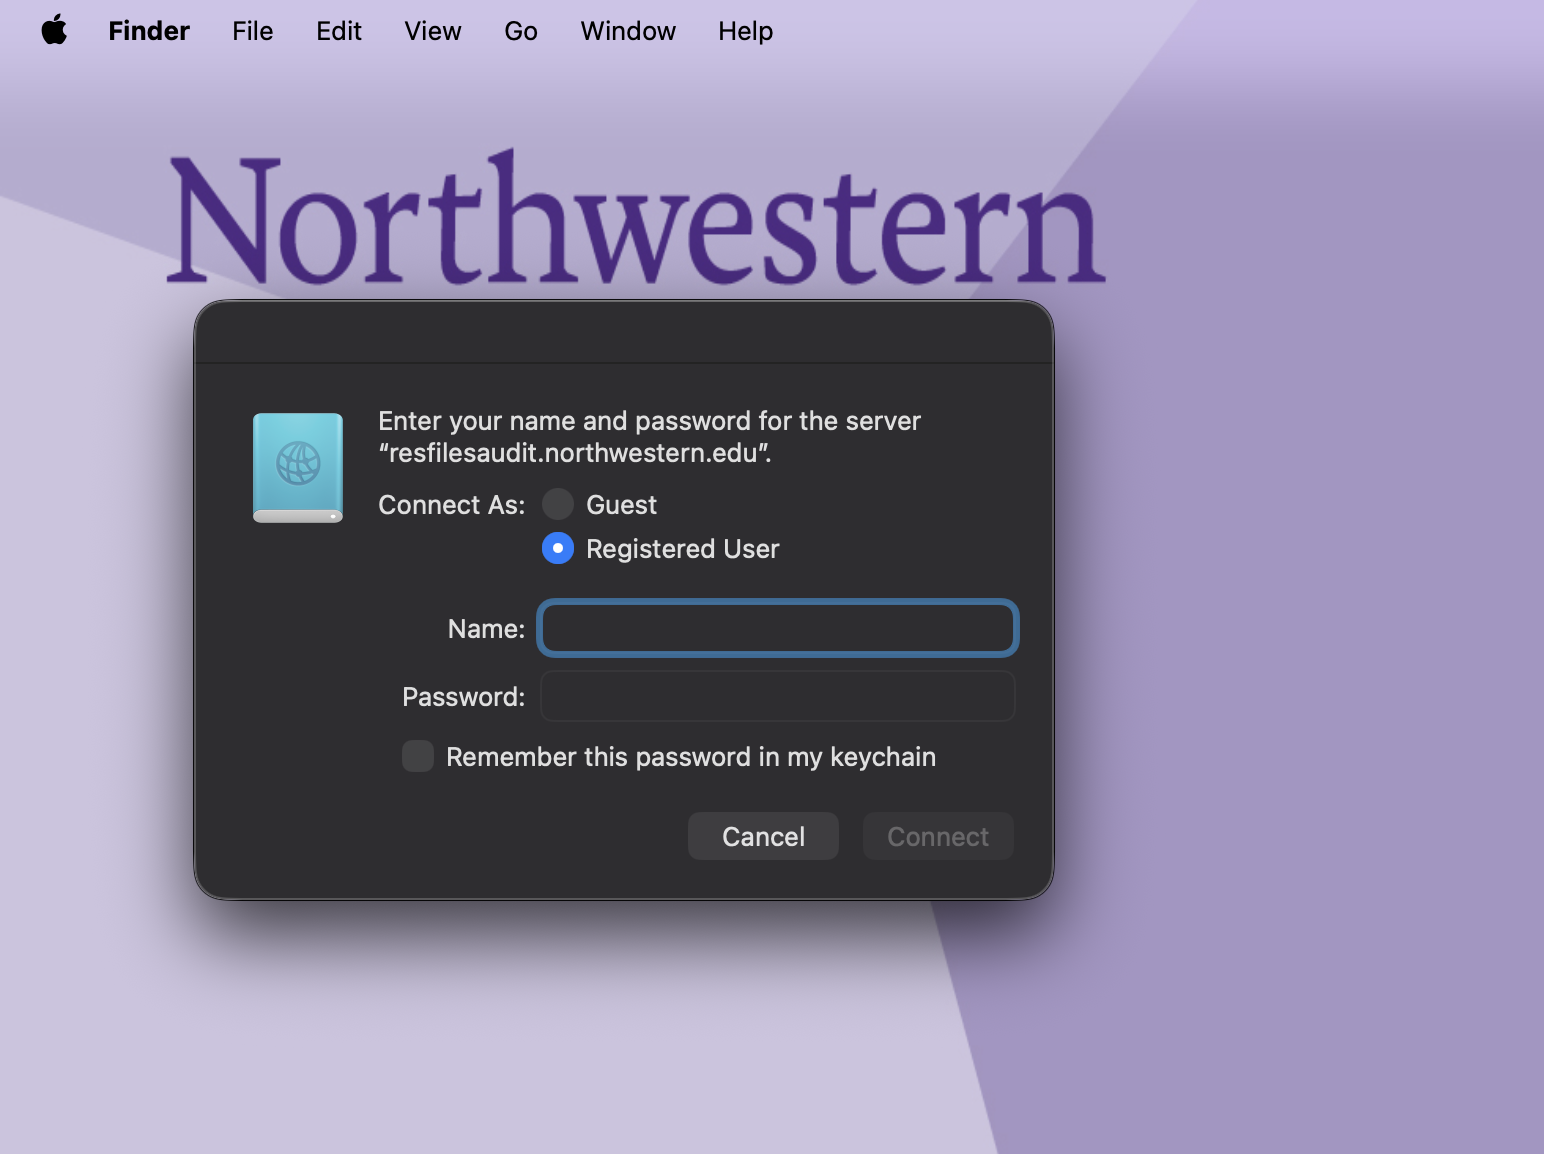
You will be prompted to authenticate to the server.
Username: your Northwestern NetID
Password: your NetID password
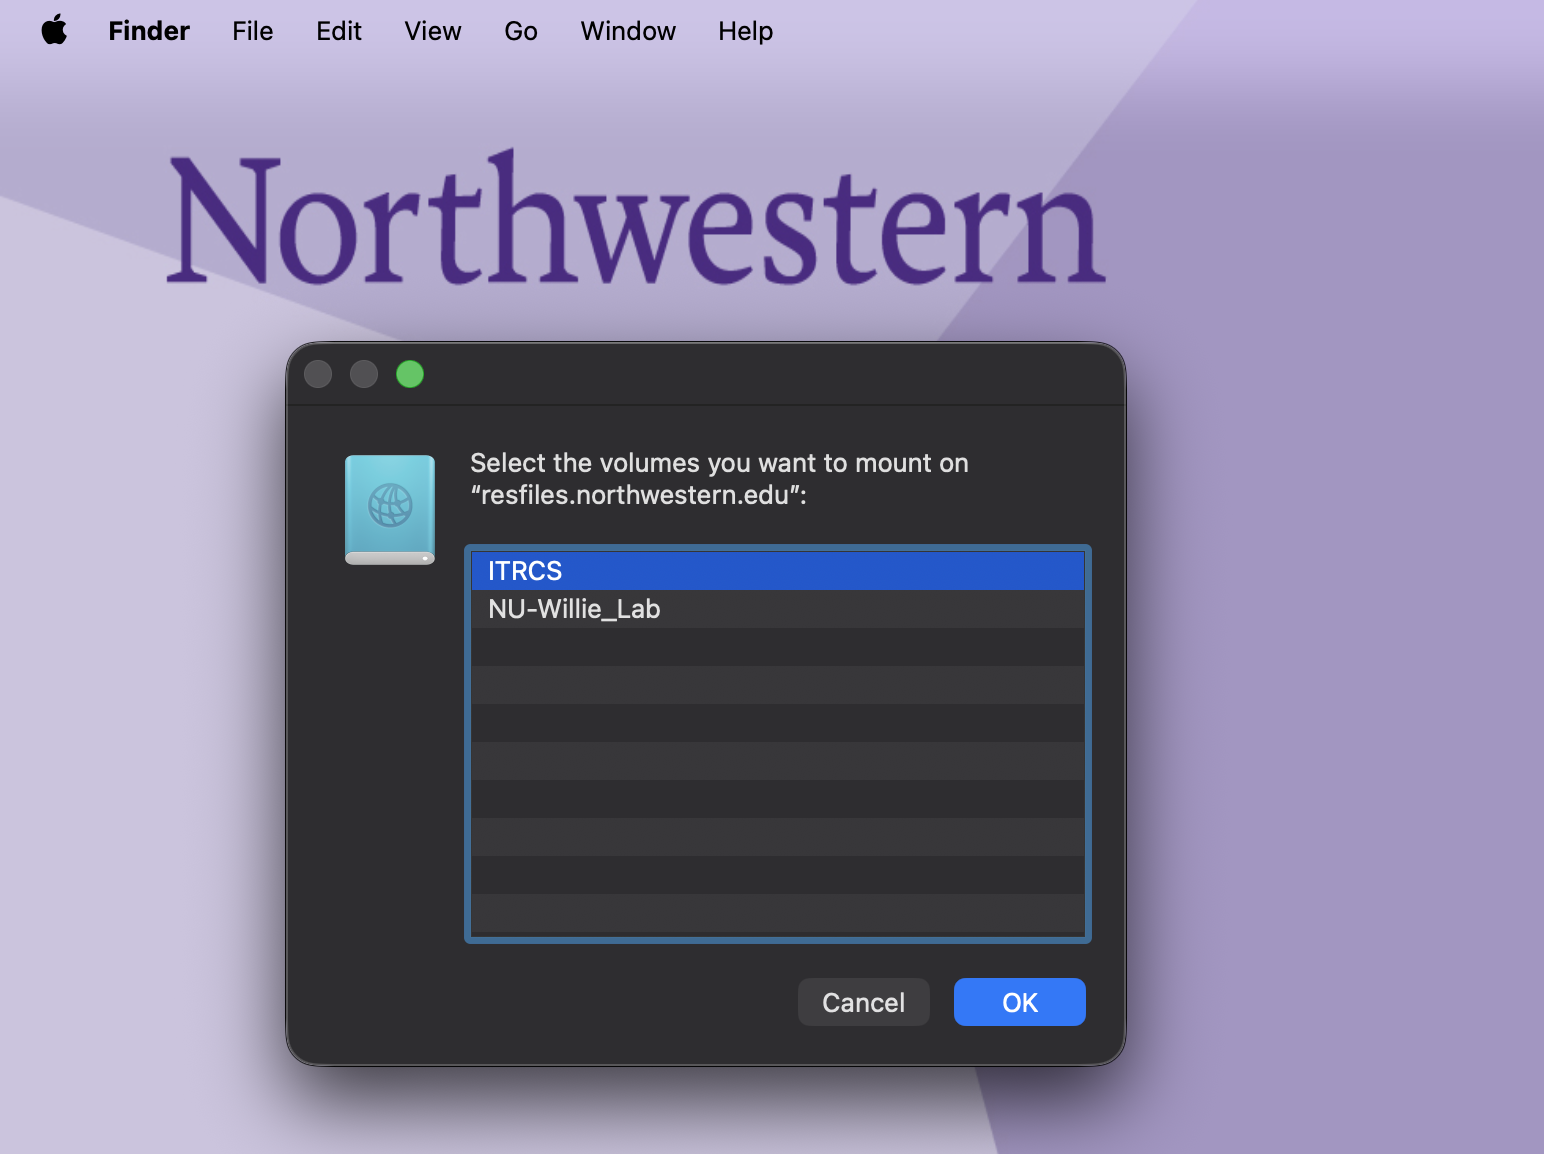
Once connected, you will see the list of shares on the server. Select the share you would like to mount and click OK.
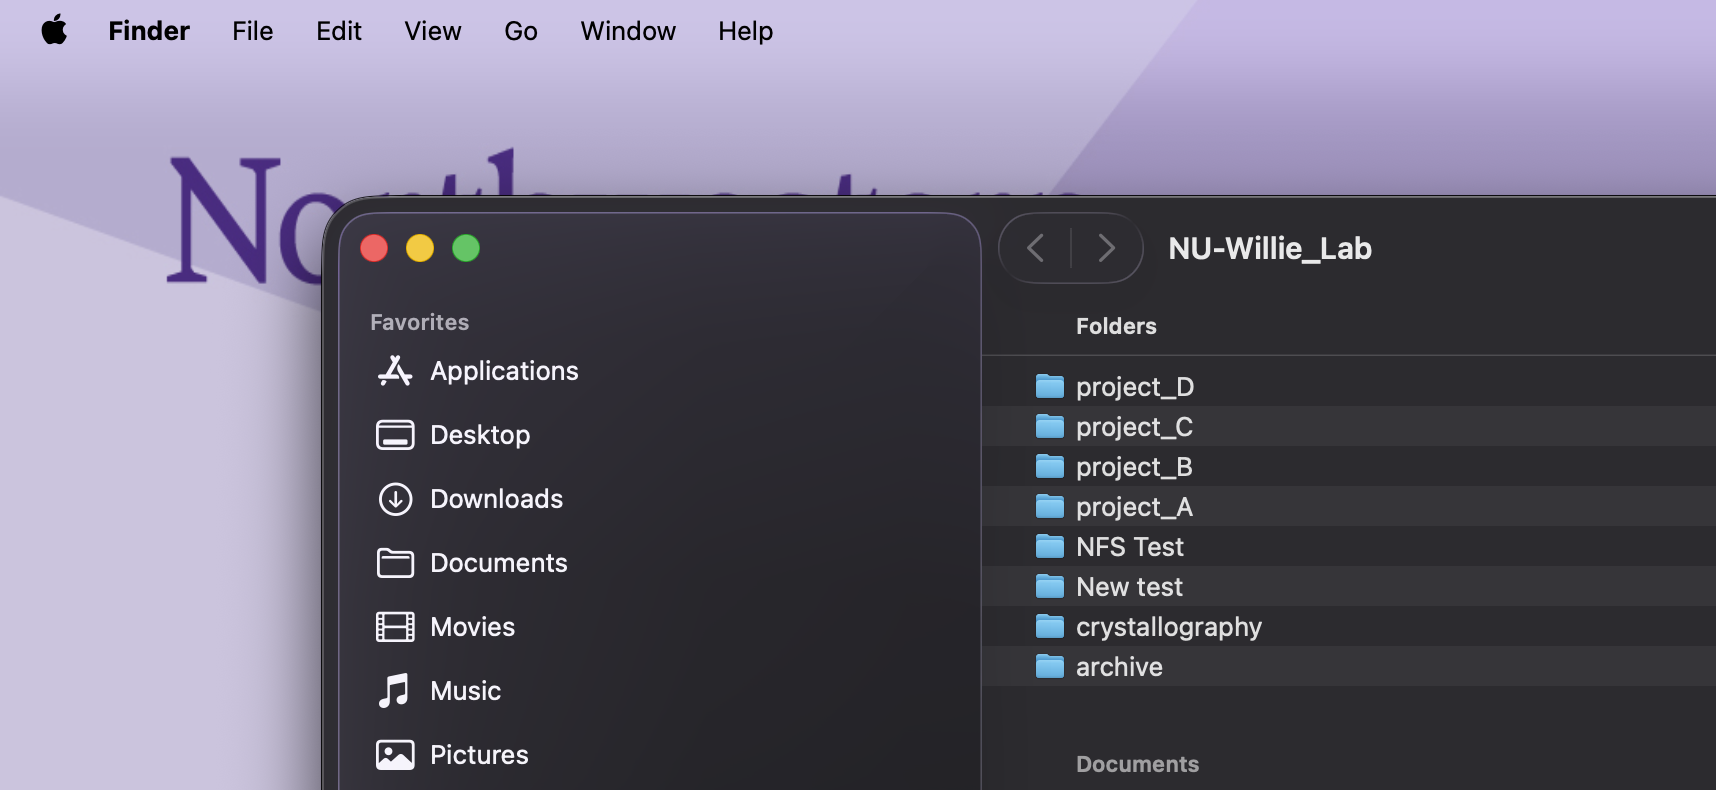
Your share will open in a new Finder window. You can also find it in any Finder window on the left-hand side under Locations labeled with the server name.
To connect from a computer running Linux, you must have
Root privileges on the machine
Common Internet File System (CIFS) installed. To install:
with apt-get:
sudo apt-get install cifs-utilswith yum:
sudo yum install -y cifs-utils
Once CIFS is installed:
Create a directory to use as a mount point, which is the file path where you can access your RDSS files. While a mount point can be anywhere on the computer’s file system, many create the folder in the
/mnt/directory, for example/mnt/share-name/, replacingshare-namewith the name of your share. The following assumes your mount point follows this convention.Use the mount command as follows:
$ sudo mount -t cifs //serveraddress/share-name /mnt/share-name -o username=netid,domain=ads
Replacing
serveraddress with the appropriate server address(#server-name)
resfiles.northwestern.edufor resfilesresfilesaudit.northwestern.edufor resfiles audit
share-name with the name of your RDSS share in both the server address and mount point.
netid with your Northwestern NetID
You will be prompted to enter your NetID password.
Once the share is mounted, you can access its contents by referencing the mount point (/mnt/share-name) or the server name (//server_name/share-name).
Note
These instructions do not work on Quest because cifs requires sudo privileges. Direct connection of RDSS to Quest is discouraged because it causes file system instability.
Note
The version of SMB protocol used to connect to RDSS affects the behavior of the connection. For example, smbV2/3 connections will automatically reconnect to your share if network connectivity is lost and an smbV1 connection will not. See Determine the SMB version used to connect to RDSS for more information.
Disconnecting From a Share#
You may need to use an RDSS share from a shared workstation. If you do, remember to disconnect the share using the following instructions.
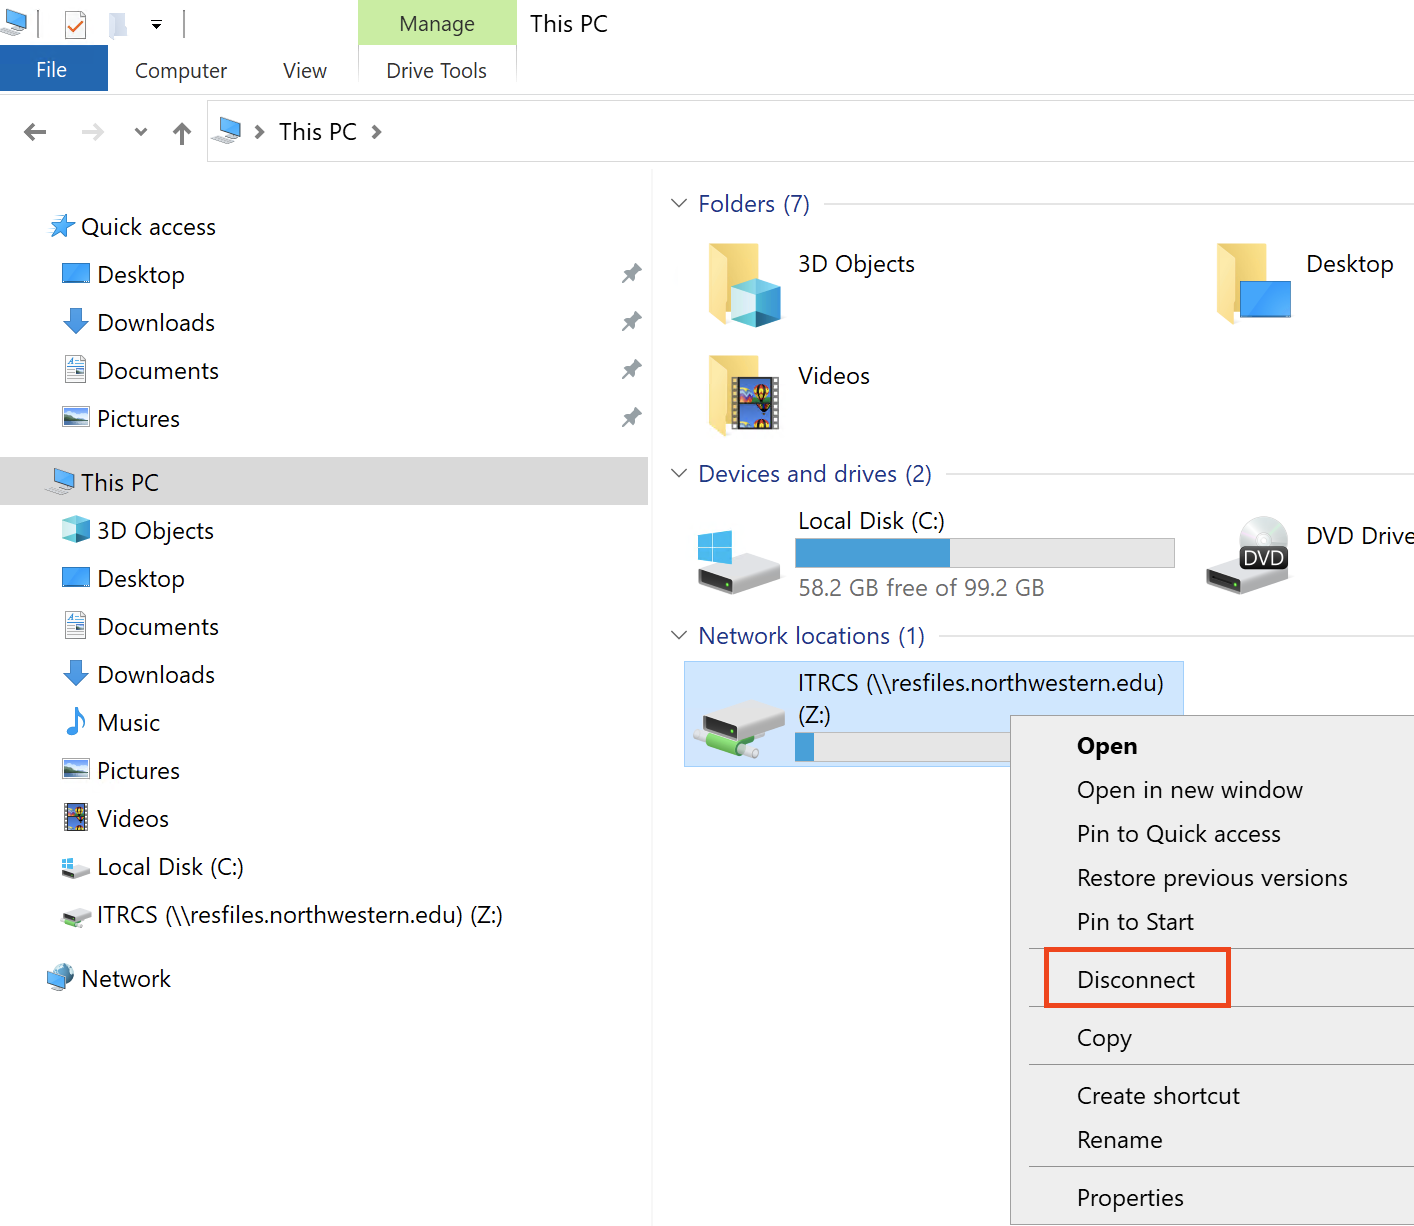
To disconnect a share connected to a Windows computer:
Open a File Explorer window.
Locate your mounted network drive on the left side of the File Explorer window under This PC.
Right-click on the mounted drive and select Disconnect to unmount the drive.
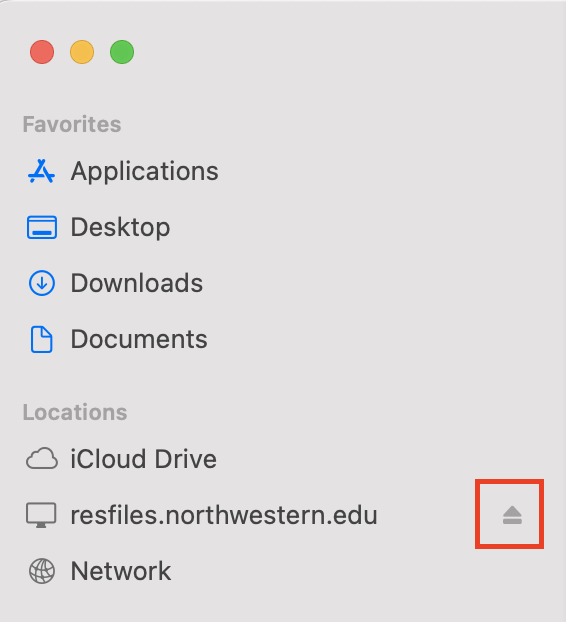
To disconnect a share connected to a Mac:
Open a Finder window.
Locate your share on the left side of the window.
Click the Eject button to the right of the mounted drive.
To disconnect a share mounted to a Linux machine:
Log in as a user who has root privileges.
From the command line, use the
mountcommand to output a list of your mounted drives.
$ mount
The output will have one line per mounted drive and will include storage volumes that are directly on the machine in the format //netid@servername on mountpoint.
Example output
//netid@resfiles.northwestern.edu on /mnt/share-name  # for resfiles
//netid@resfilesaudit.northwestern.edu on /mnt/share-name # for resfiles audit
To unmount, run the following command
$ umount /mnt/share-name`
replacing /mnt/share-name with the mount point from the output of the mount command.
Configure a Persistent Mount#
If you use RDSS regularly on a particular machine, you can configure a persistent mount to your share that will reconnect automatically after you log out of or restart your computer as long as you are connected to an approved Northwestern network.
Warning
DO NOT use these instructions if you are using a public or shared workstation.
Follow these operating-specific instructions to configure a persistent RDSS mount.
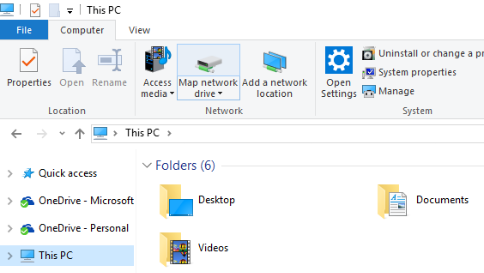
Open a File Explorer window. Select the Computer tab at the top and the click the Map network drive option in the menu.
In the window that appears:
In the Drive field, select the letter you would like to use to reference the share (eg
R:).In the Folder field, enter the server address and share name in the following format:
\\resfiles.northwestern.edufor resfiles\\resfilesaudit.northwestern.edufor resfiles-audit
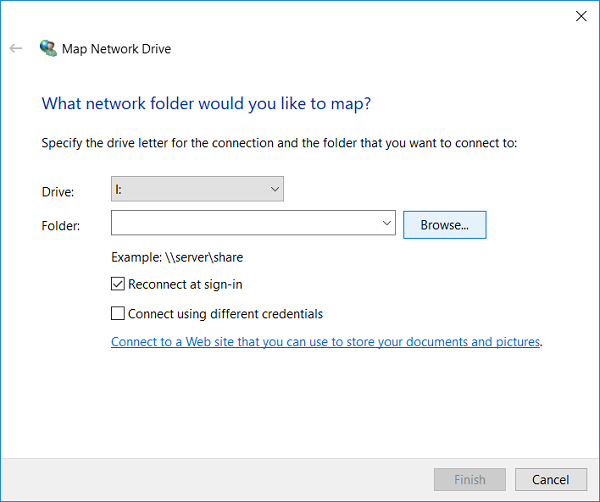
Use the checkboxes to configure the following options:
Reconnect at sign-in: checking this box will automatically remount your share when your computer restarts.
Connect using different credentials:
If you use your Northwestern NetID to log in to the computer, leave this box unchecked. The credentials you use when you log in to your computer will be used to authenticate to the share.
If you do not use your Northwestern NetID to log in to your computer, check this box. You will be prompted to enter your NetID and password. These credentials will be saved on this machine to allow it to autoconnect.
Click OK. The drive will appear in your This PC window in File Explorer.
To set up a persistent connection to an RDSS share on a Mac, add the mount to your Login Items.
Connect to your share as described in the Connect to the Share section.
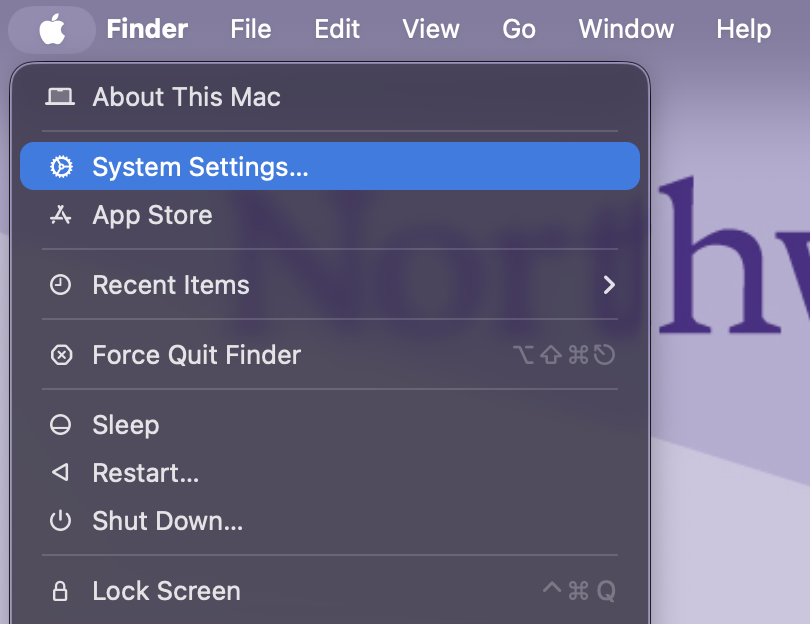
Open System Settings on your computer.
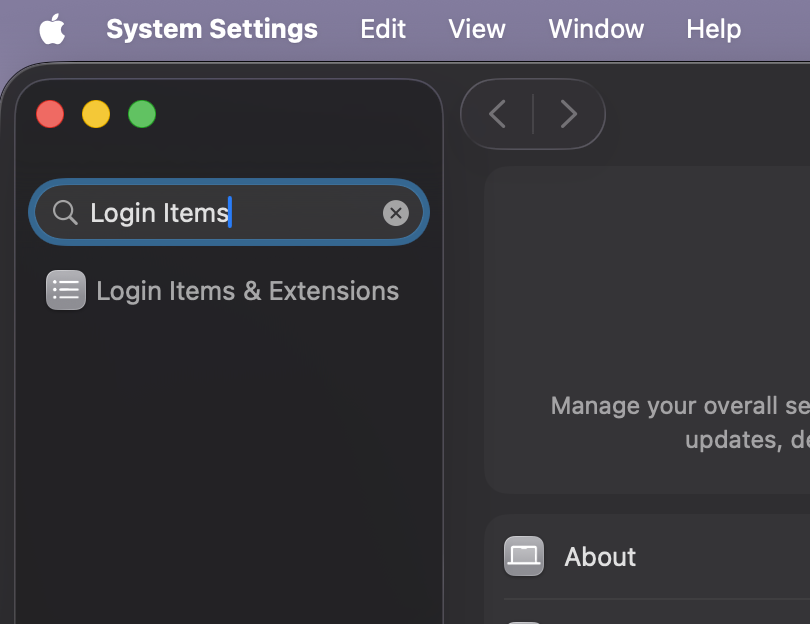
Search for Login Items in the search bar.
Click the + sign at the bottom of the Open at Login window.

A Finder window will open. Select the network drive you want to add from the lefthand sidebar under Locations.
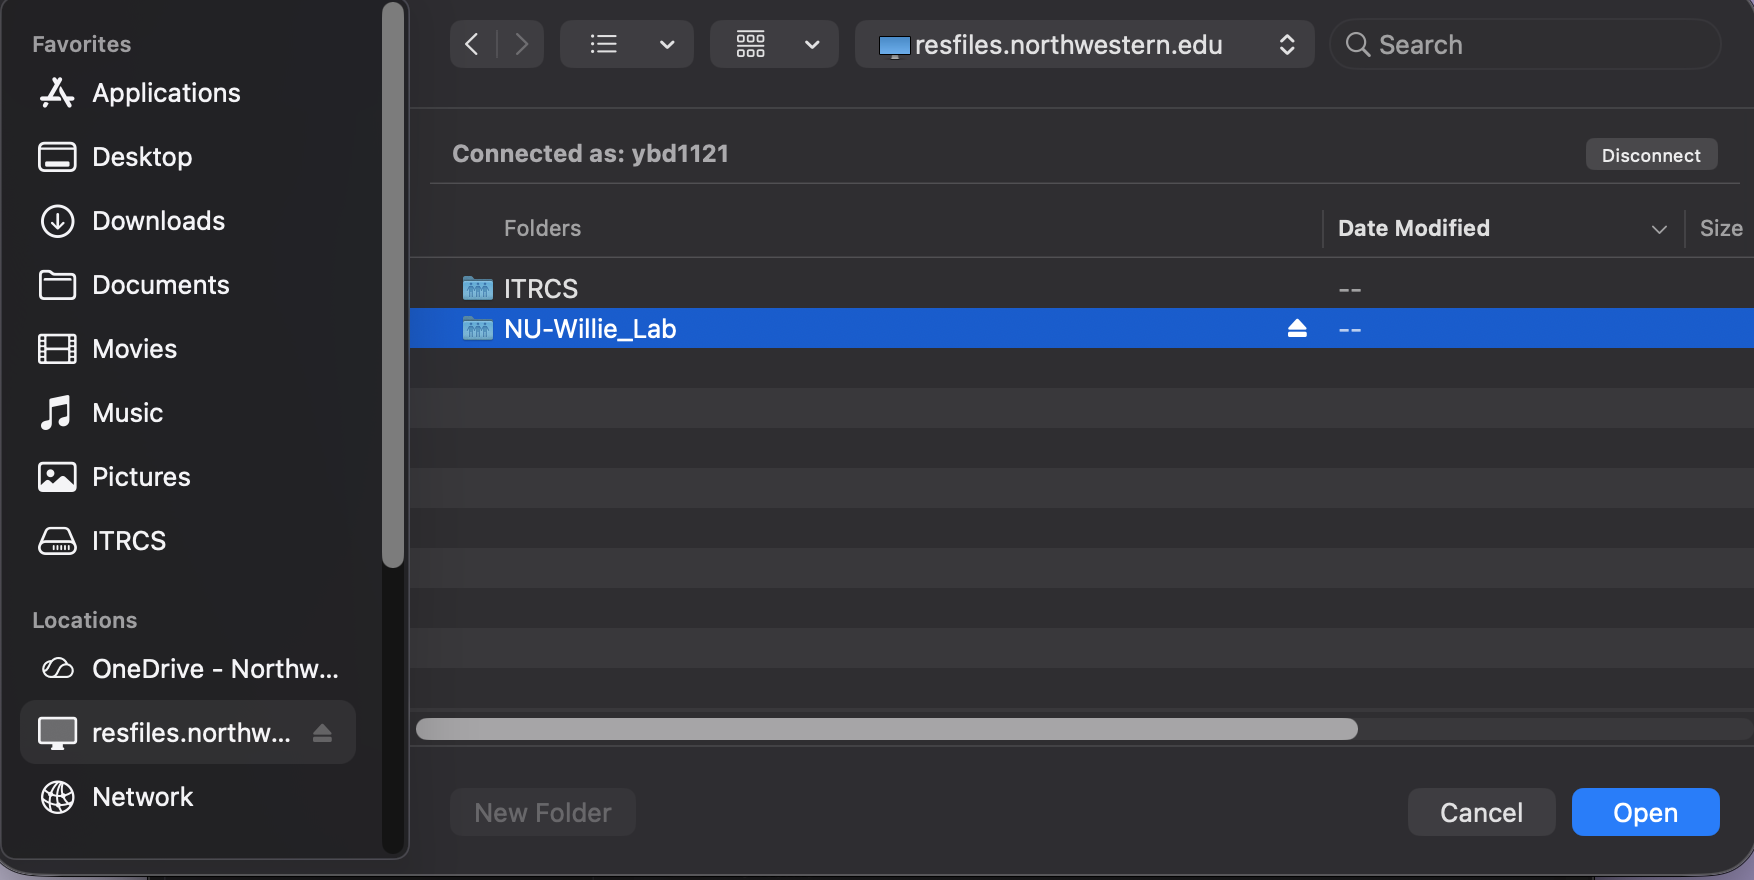
Click Add in the lower right corner of the window
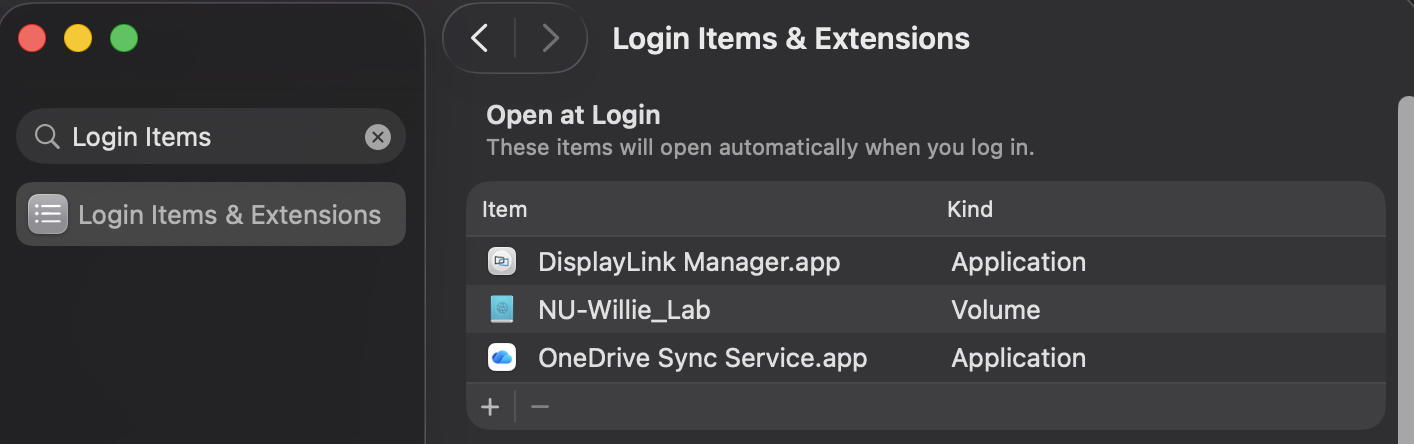
Your machine will attempt to connect to the server when you log in.
To set up a persistent connection to an RDSS share on Linux, add the server information to the file system table (fstab) file on your computer. This action requires sudo privileges.
Open the
/etc/fstabfile in a text editor, like nano.
$ sudo nano /etc/fstab
Add the following text to the end of your fstab file
//server/share-name /mnt/share-name cifs username=netid,password=netid_password,iocharset=utf8
Replacing
serveraddress with
resfiles.northwestern.edufor resfilesresfilesaudit.northwestern.edufor resfiles audit
share-name with the name of your RDSS share.
netid with your Northwestern NetID
netid_password with your Northwestern NetID password
Check your work by running:
$ sudo mount -a
If this command does not generate errors, then the share will automatically mount again each time your machine starts.
Note
Even if a persistent mount is configured, your computer will not connect unless you are connected to the right network.
Restoring Files from Snapshots#
RDSS creates snapshots of files stored on RDSS every evening, between 7 pm and midnight. These snapshots are kept for 28 days.
This feature allows users to retrieve versions of files that were accidentally modified or deleted if they existed on RDSS:
within the past 28 days and
when a snapshot occurred.
For example, versions that exist for less than 1 day may not have been captured by a nightly snapshot.
To restore a file/folder:
See below for detailed instructions.
1. Connect to RDSS from a Windows Computer#
Older versions of files can only be restored from computers running the Windows operating system.
Windows users can connect to their share as usual to restore files.
MacOS/Linux users can connect to NUworkspace using their NetID to complete the restore process. and mount your RDSS share in NUworkspace documentation for instructions.
2. Finding Previous Versions of a File/Folder#
To see the previous versions of a file that are available:
Open a File Explorer window
Navigate to the file or folder you want to retrieve
Navigate to the file or folder if a newer version still exists
Navigate to the folder that the file/folder was previously in for deleted files/folder.
Right-click on the file/folder
Select Properties from the menu that appears.
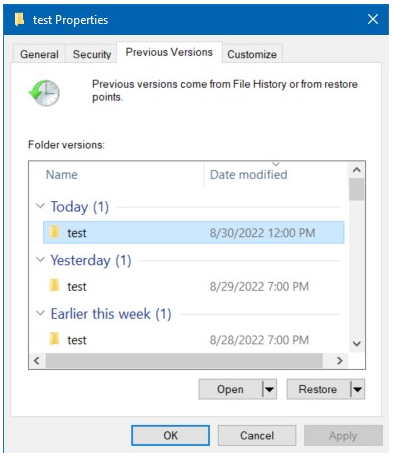
In the properties window, select the Previous Versions tab. You should see a list of previous versions of the file/folder.
3. Previewing the Contents of Previous Versions#
To see the contents of a file or folder version:
Select the version you want to inspect and click the Open button.
The version you selected will open in the default application for that file type for files and in File Explorer for folders.
Do not make changes to the files/folders that you are previewing. Restore or copy them to another location before making changes.
4a. Restoring Previous Versions of Existing Files/Folders#
To restore a previous version of a file or folder:
In the Previous Versions tab, click the version you want to restore.
Click the Restore button below the version list.
Performing this action on a file will restore a single file
Performing this action on a folder will restore the entire folder
You will see a message warning you that the current version of the file will be replaced. Click Yes to confirm.
The current version of the file or folder will now match the version you selected. Note that new versions are only created during nightly snapshots. Any changes made to the most recent version between the last snapshot and the restore action will not be saved in a snapshot.
4b. Restoring Deleted Files/Folders#
To restore a deleted file or folder,
Navigate to the folder that the file was stored in.
Right-click the folder and select Properties and click on the Previous Versions tab
Click the version you want to revert to.
Click the Open button below the version list. A new File Explorer window will open containing the files/folders that were in that folder at the time of the snapshot.
Right click on file/folder you want to retrieve and select Copy.
Navigate to where you’d like to save this file. Right click and select Paste to save the file there.
Determine your SMB version#
Server Message Block (SMB) protocol is a communication standard that computers use to share access to files, printers, and other resources on a network, including the Research Data Storage Service (RDSS) and FSMResFiles. SMB protocol versions (SMBv1, SMBv2, and SMBv3) are referred to as dialects.
Knowing which dialect you use to connect to RDSS is important because SMBv1 connections lack the following features:
Your computer will not reconnect automatically if you are disconnected due to server maintenance or lost network connection.
The connection is not encrypted, leaving your information vulnerable to unintended exposure or corruption.
When you mount an RDSS share, the connection uses the most recent dialect that your computer has enabled, because RDSS supports all three.
What dialects does my computer support?#
The dialects your computer can use is determined by the operating system version on Mac and Windows or by the samba package version on Linux systems. Systems running the following software support SMBv1 only.
Mac OSX 10.6 and earlier
Linux operating systems running samba package versions 3.5 and earlier
Warning
If your system only supports SMBv1, we recommend upgrading your software to enable a newer SMB dialect if possible. Be sure to check that upgrading will not affect compatibility with other software and instruments you need to use for your research.
What SMB dialect am I using?#
Your system typically uses the most current SMB dialect that both your machine and the server have in common. However, newer dialects may be disabled, preventing them from being used. The following system-specific instructions will show you how to determine which version of SMB you are using to connect to RDSS.
From the start menu, search for PowerShell
Right-click Windows PowerShell and select Run as Administrator.
Run the following PowerShell command
> Get-SmbConnection
In the output, your SMB version is listed in the Dialect field in the format X.Y.Z where X is the major version.

Open a Terminal window (Applications > Utilities > Terminal).
Type the following command:
$ smbutil statshares -a
In the ATTRIBUTE_TYPE column of the output, look for the row labeled SMB_VERSION. The corresponding text in the VALUE column indicates your SMB version. The value is in the format SMB_X.Y.Z, where X is the major version.

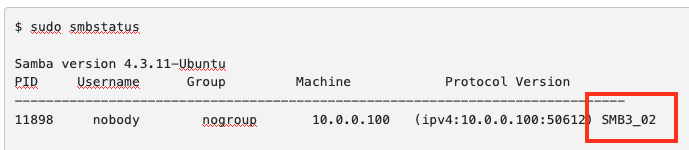
Open a Terminal window
Type the following command:
$ sudo smbstatus –version
Your SMB version is listed in the Protocol Version field in the format SMX_YZ where X is the major version.
Warning
If your system supports other SMB dialects and is still using SMBv1, contact rdss-help@northwestern.edu for advice on how to configure your machine to use a more current version.